Introduction
Photography is a beautiful way of capturing moments, and one of the most essential techniques that helped me improve my photography was understanding the Rule of Thirds. When I first heard about it, I thought it sounded a bit technical, but once I got the hang of it, I realized how easy and powerful this rule is. So, I want to share this with you in the simplest way possible—whether you're just starting with photography or looking to enhance your skills.
The Rule of Thirds is a basic principle that can make a huge difference in the composition of your photos. It helps you create more balanced, visually pleasing images without much effort. Trust me, once you start using this rule, you’ll notice a big improvement in how your photos look.
What Is the Rule of Thirds?
The Rule of Thirds is a guideline that divides your image into nine equal parts using two horizontal and two vertical lines. Imagine a tic-tac-toe grid placed over your photo. The idea is to position the most important elements of your image along these lines or at the points where the lines intersect. By doing this, you can make your photo more interesting and dynamic than if you simply centred your subject.

Let’s take an example. Think of a beautiful landscape shot where you have the horizon in the background. Instead of placing the horizon in the middle of your photo, the Rule of Thirds suggests placing it either along the top third or middle third of the frame. This creates more visual interest and balance.
How the Rule of Thirds Works in Real Life
When I started using the Rule of Thirds, it completely changed the way I framed my shots. I remember one of the first photos I took using this technique was of a friend standing in front of a sunset. Before I understood the rule, I would have placed her right in the middle of the frame. But by positioning her along one of the vertical lines (to the left or right), the whole picture looked more professional and pleasing to the eye.
Here’s an easy way to try it: If your camera or phone has a grid option, turn it on! This will overlay the Rule of Thirds grid on your screen, making it simple to align your subjects.

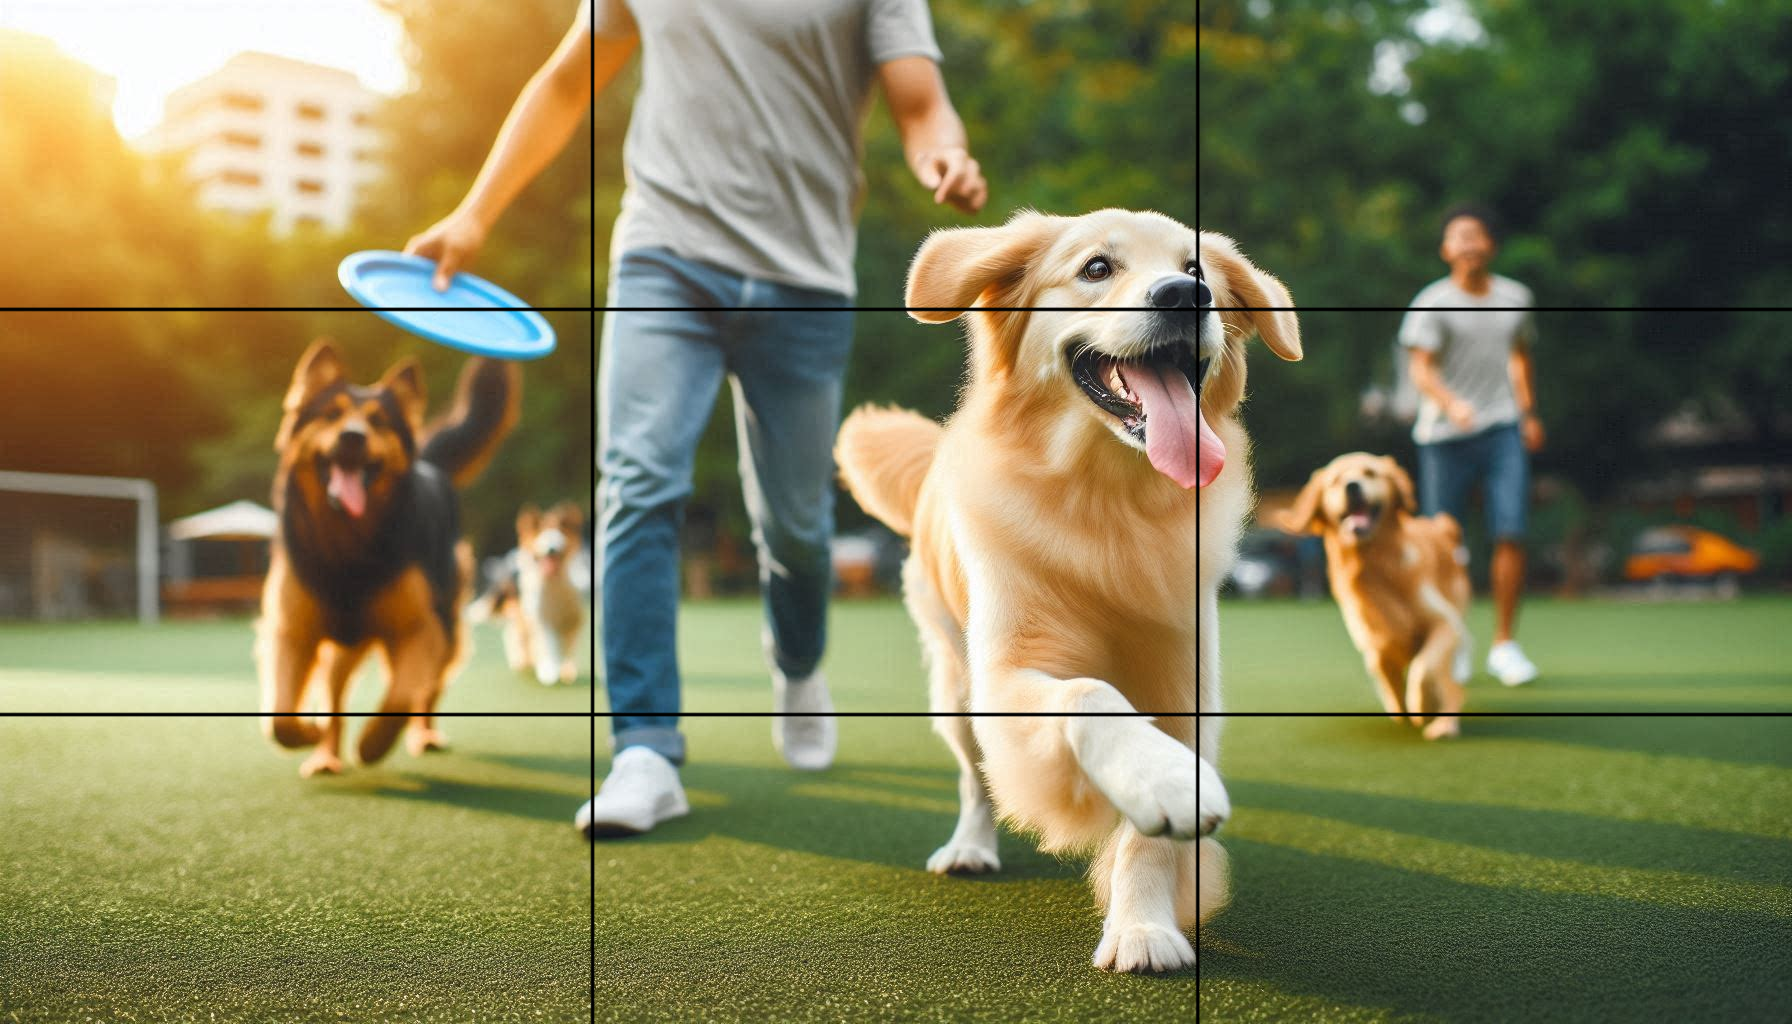
Example: Imagine a picture of a dog running in the park. Instead of placing the dog smack in the centre, you could position the dog to the right of the frame using the Rule of Thirds. Suddenly, the photo feels more natural and dynamic!
Why Does the Rule of Thirds Work?
You might be wondering why this rule works so well. It all comes down to how our eyes naturally move when we look at images. Research shows that people’s eyes tend to gravitate towards the intersection points of the Rule of Thirds grid, rather than the centre of a frame. So, by positioning important elements along these lines or intersections, you're guiding the viewer’s eyes to where you want them to look.
In the earlier example of the landscape shot, placing the horizon at the top or bottom third instead of the centre creates a better balance between the sky and the land. It gives the image more depth, making it more engaging for the viewer.
Breaking the Rule: When Not to Use the Rule of Thirds
Now, while the Rule of Thirds is a fantastic guideline, I’ve learnt that it’s okay to break the rule sometimes. Photography is an art, and not every shot requires strict adherence to the rules. Some of my favourite photos don’t follow the Rule of Thirds, and that’s perfectly fine.
For instance, if you’re photographing a symmetrical subject—like a reflection in a calm lake—centering the subject might be more effective than using the Rule of Thirds. The key is to experiment and see what works best for the mood and story you’re trying to tell with your image.
Examples of the Rule of Thirds in Different Types of Photography
I’ve used the Rule of Thirds in many different types of photography, and each time, it has made a noticeable difference. Here are a few examples to show how versatile this rule can be:
Portrait Photography
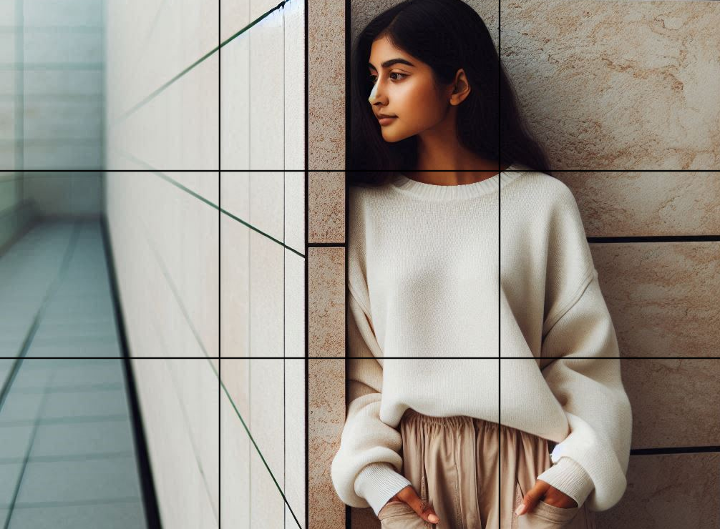
In portrait photography, I love using the Rule of Thirds to place my subject off-centre. For example, when photographing someone outdoors, I often position them on the right or left vertical line of the grid, leaving some space on the other side. This negative space adds context to the portrait, like showing part of a landscape or a building, and it can make the photo feel more natural.

Example: A lady standing next to a wall with space on one side, positioned along the vertical line of the Rule of Thirds grid.
Landscape Photography
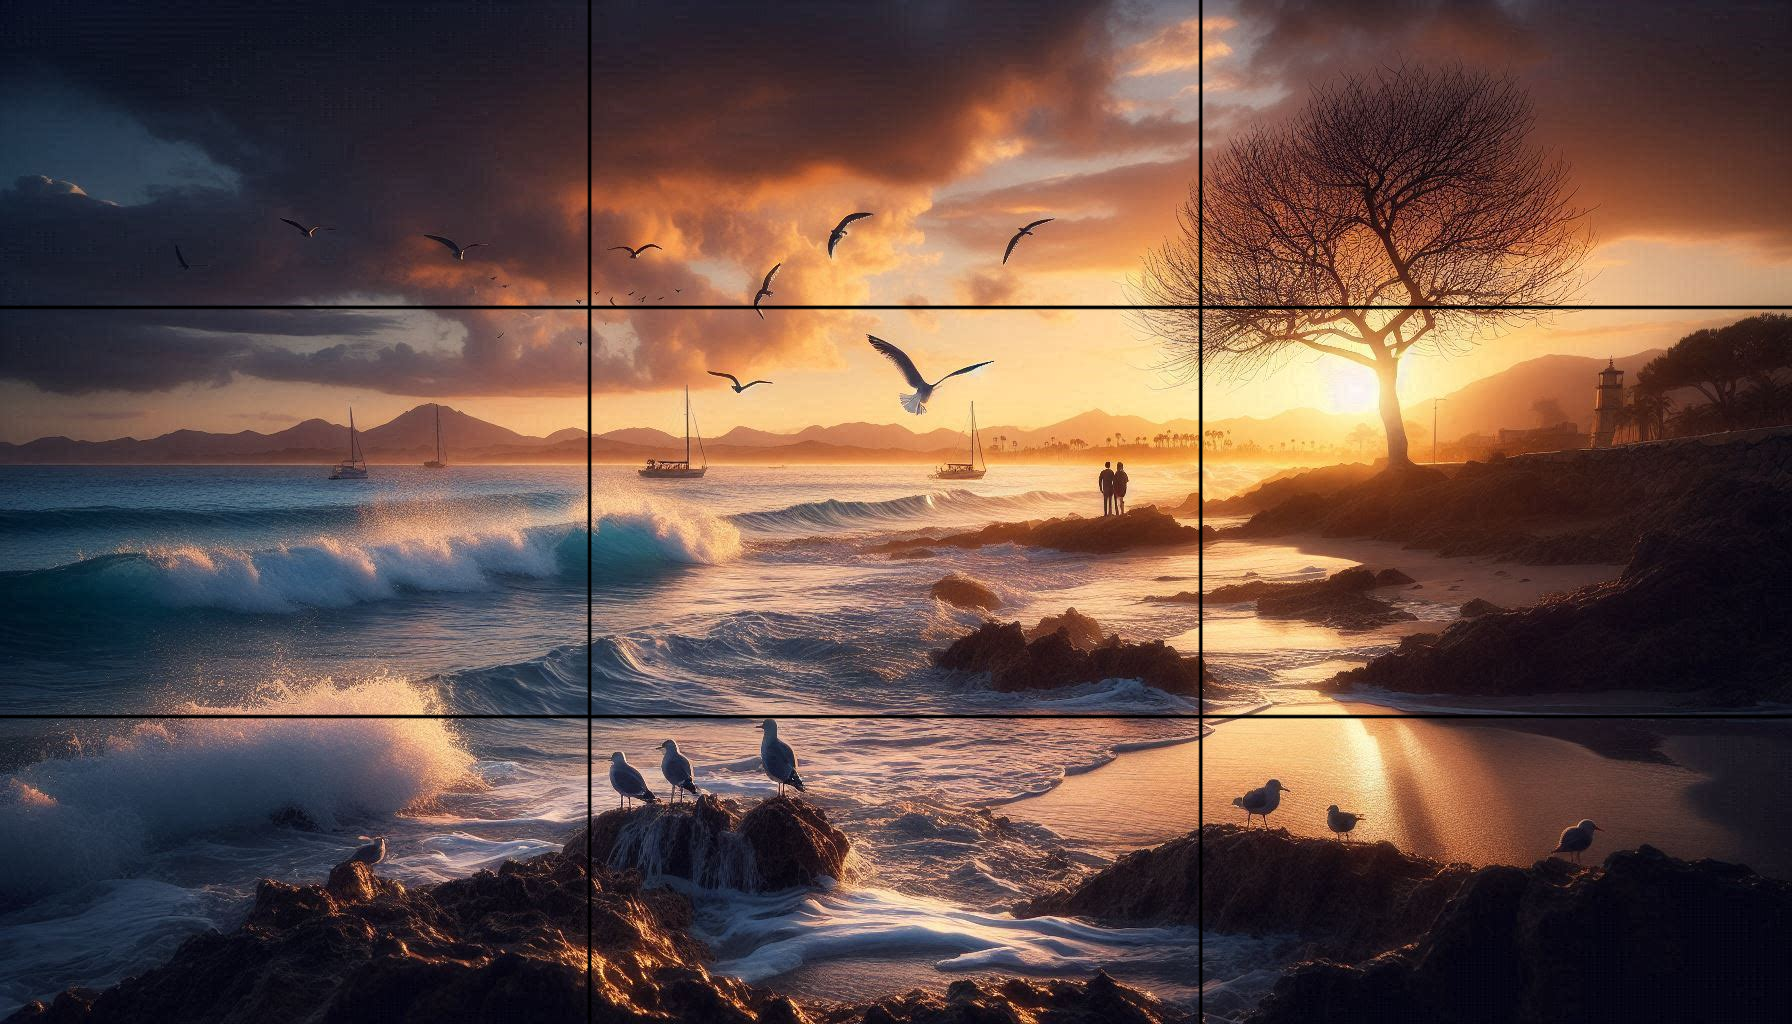
When shooting landscapes, this rule has been incredibly helpful in balancing the elements of my photos. Placing the horizon along the top or bottom third gives the scene a sense of scale, allowing the viewer to focus on either the vast sky or the detailed foreground.

Example: A beach scene with the horizon on the bottom third and the sky filling up the upper two-thirds of the frame.
Action Shots
For action shots, like a runner or a bird in flight, the Rule of Thirds is especially useful. By placing the subject along one of the vertical lines and leaving space in front of them, it creates a sense of movement, making the photo feel more dynamic.

Example: A runner positioned on the left vertical line with space in front of them to run into, following the Rule of Thirds.
How to Practice the Rule of Thirds
If you’re excited to try out the Rule of Thirds, here are a few simple ways to practice:
- Use the Grid: Turn on the grid feature in your camera or smartphone. This helps you visualise the Rule of Thirds while shooting.
- Experiment with Placement: Don’t always place your subject in the centre. Try positioning them along the grid lines and intersections to see how it changes the composition.
- Review Your Photos: Go through your existing photos and see how they might improve if you had used the Rule of Thirds. Cropping images to adjust the composition is a great way to experiment.
FAQs
What is the Rule of Thirds?
The Rule of Thirds is a photography technique that divides an image into a 3x3 grid. The goal is to place key elements along the grid lines or intersections to create balanced, visually appealing photos.
How can I apply the Rule of Thirds to my photography?
Turn on the grid feature in your camera or smartphone, and try positioning your subject along one of the grid lines rather than in the centre of the frame.
Can I break the Rule of Thirds?
Yes! While the Rule of Thirds is a great guideline for improving composition, there are times when breaking the rule can result in more striking images, such as in symmetrical photos.
Why does the Rule of Thirds work?
The Rule of Thirds works because it aligns with how our eyes naturally scan images. Placing elements along the lines or intersections of the grid makes photos feel more balanced and engaging.
Is the Rule of Thirds only for beginners?
No, even professional photographers use the Rule of Thirds to create stunning compositions. However, as you grow as a photographer, you’ll learn when to follow the rule and when to break it.
How can I improve my photography using the Rule of Thirds?
Practice! Start by using the grid on your camera to align your subjects, and experiment with different placements to see what works best for your style.
Conclusion
The Rule of Thirds is a simple yet powerful tool that can take your photography to the next level. When I first learnt this technique, it changed the way I composed my shots, and I’m confident it can do the same for you. It’s all about creating balance and guiding the viewer’s eye to the most important parts of the photo. Whether you’re shooting portraits, landscapes, or action shots, the Rule of Thirds can help you capture more compelling and visually pleasing images. Happy shooting!